
20 DaVinci Resolve Editing Tips for Better Videos
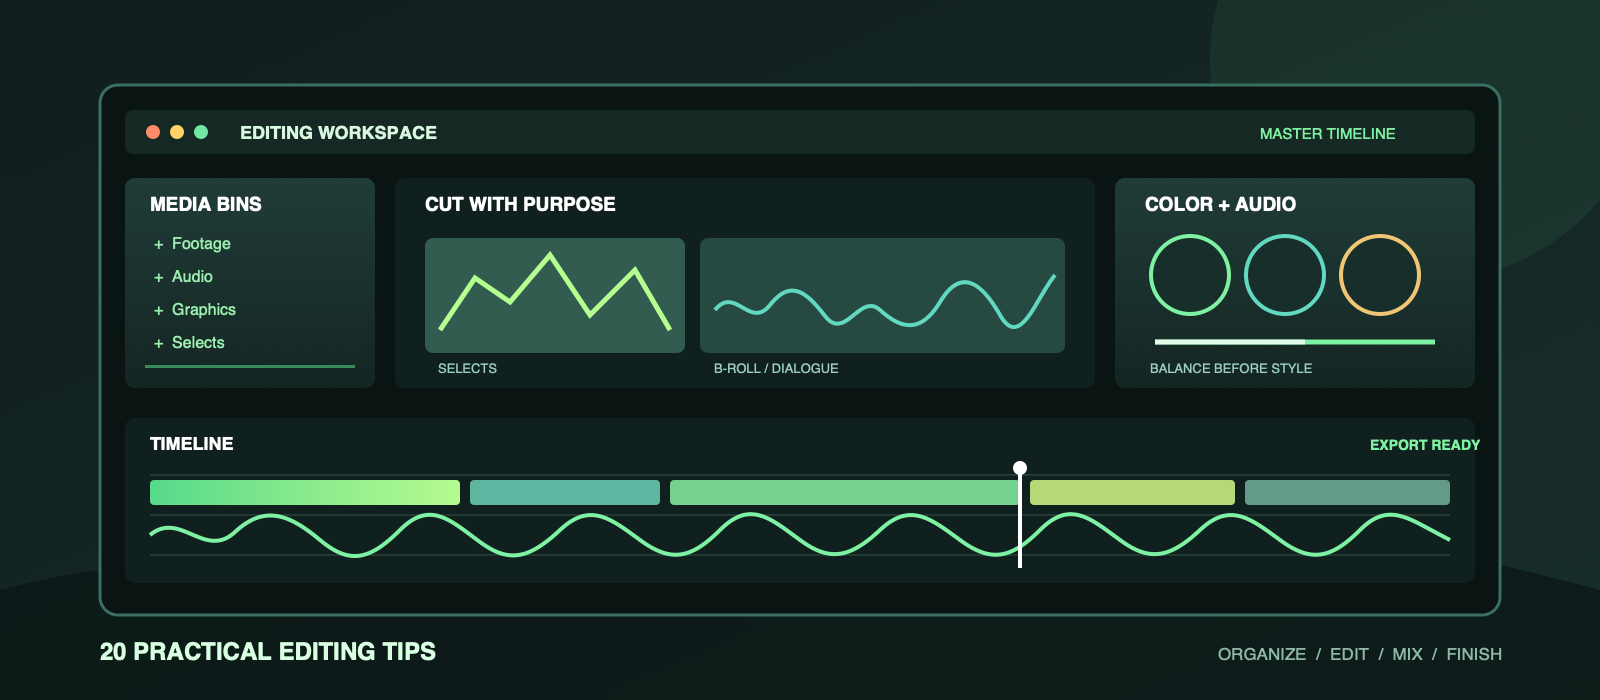
Good editing is usually the result of a repeatable process, not a collection of flashy effects. These tips will help you organize footage, make stronger cuts, improve sound, and export a reliable final video in DaVinci Resolve.
Project Organization
1. Create a folder structure before importing media
Separate footage, audio, graphics, music, exports, and project files on your drive. A predictable structure makes relinking and collaboration much easier.
2. Use bins that match your real workflow
Create bins for interviews, b-roll, selects, music, sound effects, titles, and finished sequences. Avoid one large bin that forces you to search for every clip.
3. Rename important clips and timelines
Give useful names to your main timeline, versions, compound clips, and key audio tracks. Names such as Interview_Selects_v02 are easier to understand than camera-generated filenames.
4. Add markers while reviewing footage
Use markers to identify strong quotes, mistakes, transitions, music hits, or shots that need color work. Add a short note so each marker has a purpose.
5. Build a selects timeline
Copy your best takes and useful b-roll into a separate selects timeline before building the final edit. This reduces repetitive searching and protects your original timeline.
Editing and Story
6. Start with the story, not the effects
Make the message and pacing work with clean cuts first. Add transitions and effects only when they support the story or clarify a change.
7. Cut pauses and repeated words carefully
Remove dead air and unnecessary repetition, but preserve a natural rhythm. Leaving small breaths between ideas can make dialogue feel more believable.
8. Use J-cuts and L-cuts
Let the next clip's audio begin before the picture, or let the current audio continue over the next shot. These cuts create smoother scene changes than constant visual transitions.
9. Use the Blade tool with a plan
Before making many cuts, play the section once and identify the exact change you need. Fewer intentional edits are easier to refine than a timeline filled with accidental slices.
10. Edit to music by marking the beat
Listen through the track and place timeline markers on important beats or musical changes. Use those markers as pacing guides rather than forcing every cut onto every beat.
11. Keep multiple versions of major edits
Duplicate a timeline before making a substantial structural change. Versions let you compare decisions and recover an earlier cut without rebuilding it.
12. Use adjustment clips for shared effects
Place a shared look, crop, or effect on an adjustment clip when it applies to several shots. This keeps the timeline cleaner and makes global changes faster.
13. Use compound clips for repeated sequences
Group a finished intro, lower-third package, or recurring sequence into a compound clip. Keep a separate source timeline so you can update the reusable section later.
Audio and Color
14. Keep dialogue at the center of the mix
Lower music and sound effects whenever someone speaks. Clear dialogue matters more than loud background music, especially on phones and laptop speakers.
15. Use audio track types and buses
Keep dialogue, music, and effects on separate tracks or buses. This makes it easier to apply consistent processing and adjust a whole group at once.
16. Check audio with headphones and speakers
Listen on at least two playback systems before exporting. A mix that sounds balanced in headphones may be too quiet or too bass-heavy on small speakers.
17. Correct exposure before creating a look
Fix white balance, exposure, and contrast before applying a creative grade. Technical corrections give the creative look a stable foundation.
18. Match shots before grading the sequence
Compare neighboring shots and make skin tones, brightness, and color temperature feel consistent. A simple matched sequence usually looks more professional than an extreme isolated grade.
Finishing and Export
19. Watch the complete video before exporting
Review the full timeline without stopping. Look for flash frames, missing media, abrupt audio changes, spelling mistakes, and shots that need a final trim.
20. Export a master before making delivery versions
Keep a high-quality master export, then create platform-specific versions from it. This gives you a clean archive and prevents repeated exports from a heavily compressed file.
Simple Editing Checklist
- Confirm the story and remove anything that does not support it.
- Check every cut for continuity and accidental flash frames.
- Listen for clipped dialogue, noise, and sudden volume changes.
- Match exposure and white balance between nearby shots.
- Verify titles, names, links, spelling, and safe margins.
- Watch the export from beginning to end before publishing.
Frequently Asked Questions
What should I learn first in DaVinci Resolve?
Start with media organization, timeline editing, trimming, audio levels, and basic export settings. These skills improve every project before advanced Fusion or color work becomes necessary.
How can I edit faster without making careless cuts?
Use bins, markers, selects timelines, keyboard shortcuts, and timeline versions. Speed comes from reducing decisions and searches, not from cutting before you understand the footage.
Should every clip have a transition?
No. A straight cut is often the clearest transition. Use a dissolve, wipe, or effect when it communicates time, place, mood, or a deliberate change.
Conclusion
A clean workflow gives you more time to focus on story and creative choices. Apply these tips one at a time, save reusable templates, and review your finished work so each project teaches you something useful for the next one.